Bachelorette weekend + pink peonies


I'm back! I spent an amazing bachelorette weekend in Ogunquit, Maine at the oh-so-lovely Achorage By the Sea resort (followed by a few days of visiting friends and family in New England). It was an awesome, awesome vacation (yes those are penis-shaped glow-in-the-dark straws) and I feel incredibly lucky to have such wonderful friends :)

Of course it's always nice to come home, especially to bright pink peonies blooming in the garden.


Beautiful, eh? They're a perfect match for the cocktail napkins I purchased for our wedding (our colours are white and pale green, but I'm using a few bright pink accents). Too bad my peonies won't be blooming in August - how pretty would they have been at the wedding?

Instead, I clipped a few blooms and arranged them in a simple white bowl in our bathroom. They look - and smell - amazing!


You Can Call Me Sybil

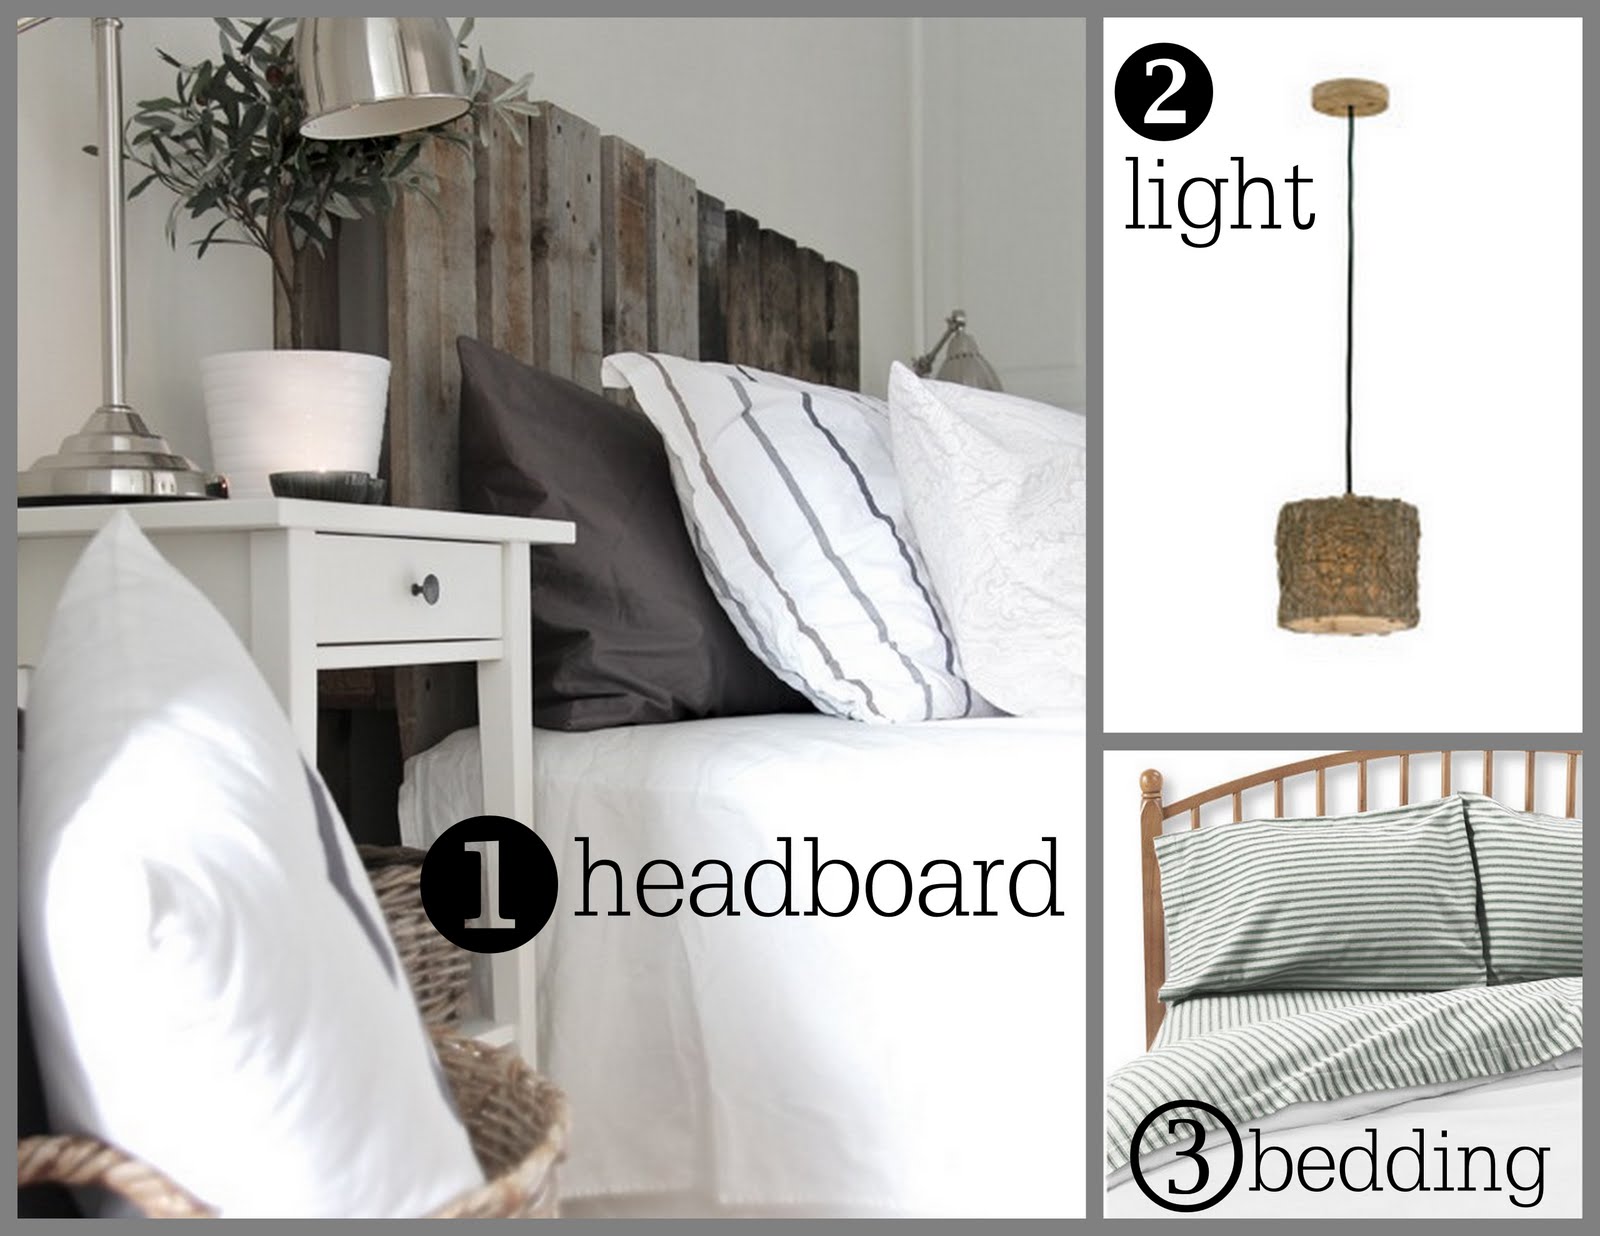
Okay, so the title means nothing to those who have never read the book or heard of the famous Sybil. So for those that don't know... She was a women with many different personalities. Split personalities they say. One body, many faces.

Yup, that's me.

Lately I've been thinking about my mommy face. It's not looking so great these days. A little pinched and haggard. I don't really think I feel that way, but I sure do sound that way.

You know when you leave the hospital then they give you 489 pages of discharge instructions? All of them so very helpful, but there are a few things they left out.

They never mentioned what you do when you've had no sleep and you're close to exhaustion.

They never said how you are supposed to make a child chew the food they have stored in their cheek.

What about when you are "that person" in the grocery store with the screaming child?

To teach them values and rules that are no longer popular in this world.

How to start the potty training journey.

What to do when you find them fishing in the unflushed commode?

The answers to where is God, heaven and how do you get babies in your tummy?

What to do when you are seized with an uncontrollable fear of your child getting sick or dying and sobbing in the shower where no one can hear you?

There were no answers to these questions in my discharge papers.

I'm learning them as I go.

I'm learning that being a good mom means to show them not just with words what it means to serve the Lord.

To ignore the stack of dirty dishes and laundry and jump in the pool with them instead.

To think about every word that comes out my mouth because it sounds so much different coming out of my 4 year old sons mouth.

To discipline without anger. To show them the same forgiveness and love that God shows me when I am corrected.

To lay down with them every night, read them a book, pray with them and always tell them I love them.

To love their father with all my heart.

At the end of the road if all I taught them was to love the Lord with all their heart, soul and mind then I will be satisfied. All my belongings will one day be dust, but my children will be with me in eternity if they make that choice.

That is what I'm learning.

So you wonder why I am Sybil?
Because I feel like so many different "me's" exist inside, the crafty creator, the liberated woman, the submissive woman, the loving mother, the angry mother, the good friend, the hermit crab, the dreamer, the realist.... the list goes on but at the end of the day I ask myself...
Who did I let show?


Nah, I'm really not crazy. Just honest.

Photobucket

Shabby Apple Winner

Thank you to all of you who left a comment for my Shabby Apple Giveaway.

The lucky winning number was 7! (generated by Random.org)
The Wicker House was the winner of the Through The Looking Glass necklace and I was so happy to "find" her!
She has some great ideas, like this one...
She took an old drawer and re purposed it in the cutest kind of way. See her post about it.


Still wanting something from Shabby Apple? You can shop until July 20th with the code virginiahouse10off  to get 10% off your order!
Photobucket

God Shall Wipe Away Every Tear...

In the land of fadeless day
Lies the city foursquare;
It shall never pass away,
And there is no night there.
God shall wipe away all tears,
There’s no death, no pain, nor fears,
And they count not time by years,
For there is no night there.
All the gates of pearl are made,
In the city foursquare;
All the streets with gold are laid,
And there is no night there.
All the gates shall never close
To the city foursquare;
There life’s crystal river flows,
And there is no night there.
There they need no sunshine bright,
In that city foursquare;
For the Lamb is all the light,
And there is no night there.

-John R. Clements

A friend of ours died in a drowning accident yesterday. My heart goes out so much to his family. It reminds me of how quickly life can be taken away and that we are not promised tomorrow. If you have never asked the Lord to live in your heart then today is the day.  The simplest thing could turn into tragedy and there could be no more tomorrows.
I am thankful to know that someday, whether it be by death or God coming to take us away, we will see our friend in heaven again.
Photobucket

Out of Office


I'm off to Boston for a few days to hang out with some girlfriends from college and celebrate my upcoming wedding. That means the blog will be quiet for the next few days, but I've got lots of fun projects to share when I get back. See you next week!

Boys Room - Fishing Time!

I was recently talking to someone about doing a fishing style room for her teenage son. It got me thinking about different ideas that I would incorporate into a room of that style. So...
I would start with the first layer:
1. I came across this headboard photo and thought it would be the perfect piece to anchor the room.
2. There are many ideas for lights, but this one really caught my eye. With its rattan weave, it brings to mind the look of a wicker basket, brimming with lures and fishing string.
3. No room is complete without bedding, and a vintage looking ticking was the first place to start. I wish I had included the many pillow ideas I had too, but lets be realistic, if it is indeed a boys room, simple is best.
After setting the backdrop, it is time to work on the details and let you know what this room is really all about.
4. A vintage fishing net hangs casually.
5. Hurricane lanterns rest peacefully on the dresser.
6. This rustic coat rack will be perfect to hang your hat or fishing creel (photo 7) .
7. Vintage fishing creel
8. No fishing room is complete without an old fishing reel to add a simple but perfect detail to the room.

I would continue adding layers of details without cluttering up the clean  and simple appeal of the room.
A few signs, metal or wood, an old fishing pole or two, some weathered buoys and maybe an old tackle box to add a pop of color and corral all those small treasures.
Sometimes a visual, even if it's not the exact style, is helpful to get me started off on the right foot. The photo below is a great example.It has that lake house look that is a great backdrop for the room I was looking to create in my mind.


Thanks for riding along with me through my basket weave of ideas and inspirations!

Don't forget about my Shabby Apple giveaway!!
Photobucket

Shabby Apple Giveaway!

Dresses from Shabby Apple

When I was pregnant than I saw a couple giveaways for dresses from www.ShabbyApple.com. I of course thought "I'm big as a barn, I don't need any pretty little dresses right now.". Imagine my surprise when I found out they also sell Maternity Dresses from Shabby Apple as well as little girls dresses and jewelery!

I love that their dresses and vintage style jewelry take you places around the world with just one glance.

This amazing white women's dress transported me directly to a ranch right here in good ol' Texas. Just the perfect dress for all you cowgirls just looking for that fun summer dress!

The Little Girls Dresses from Shabby Apple are just too cute for words, like the "Hibiscus" dress that I just drooled on here.
So you can imagine that I was so excited when they contacted me to do a giveaway on my humble little blog.

I chose the most gorgeous vintage style necklace to give to one lucky U.S. resident!
This amazing necklace is called "Through The Looking Glass", and is just one of the beautiful pieces they have that are inspired by Alice In Wonderland.
PLUS, until July 20th then enter the code virginiahouse10off and get 10% off your order!

So here we go...
HOW TO ENTER:

1. Follow me! Follow me! Please let me know that you are a follower in your comment.

2. Go "Like" Shabby Apple on Facebook then hurry back here and leave another comment letting me know! (you can also get special offers and discounts by doing this!)

3. Go tell it on the mountain!! Or if you like, tweet, blog or post on Facebook about this giveaway and once more leave another comment letting me know with each one.

This giveaway will close Monday, June 27th at 12am. Giveaway is open only to U.S. residents.


Good luck!

Photobucket

Hanging pot rack how-to


We've got a small kitchen with limited storage space, so when Adam's parents gave us this Ikea pot rack we were pysched (mostly because we've been storing our pots and pans in a cardboard box on the floor until now). Adam spent last week with his band at NXNE in Toronto, so I decided to surprise him by FINALLY hanging this baby (while our pots and pans sat in a box on the floor, it sat in the closet).

Using my new stud finder (which I scored for $5.99 courtesy of a Father's Day sale), I located two ceiling joists. Next, I calculated half the width of the pot rack and measured out from the wall along each joist, plus a couple of inches to allow for space between the pot rack and the wall. I marked each spot with pencil, then pre-drilled small holes for the ceiling hooks.


Then it was a matter of screwing the hooks into the ceiling - which was a challenge, what with my lack of brawn (I was all too happy to take a break halfway through to snap the progress shot below).


With my ceiling hooks securely in place, I shortened the chains that came with the pot rack by removing most of the links (another feat of strength) and hung my pot rack. Here it is in this morning's sunshine. Yay for no more cardboard box storage!

Happy One Month Little Lee!

I know I sound like a first time mom, but hey, this is my first time being a mom to Lee.
Sooo...

Happy 1 Month Little Lee!


I can't believe it's already been a month. Beau & Jack are still so thrilled with Lee and almost drive me to brink of sanity asking to hold him and kiss him:-)
As a side note, look what I bought on The Foundary today! They have two sizes and they are priced so great!

Don't tell me you haven't excepted your personal invite yet! Just click on this link or the one on my sidebar any time to sign up. No cost at all!The Foundary.

Have a safe and happy weekend!
Photobucket

How to dress up an ugly floor lamp

Remember the lampshade I painted a couple of weeks ago? I used it to turn this $20 lamp from Zellers...


into a cute and simple reading lamp for our guestroom:


What you can't see in the photo above is that my lamp is quite a bit shorter than it was in the store, and it's missing a plug:


Yes, I did that. On purpose, too.

The thing is, I knew I wanted a very simple, black floor lamp to go with my painted lampshade - in other words, pretty much exactly what I ended up with. At first I thought I'd find an old floor lamp at a yard sale or thrift store that I could spraypaint, which turned out to be easier said than done. Everything I found was either the wrong shape, the wrong style, or just too darn expensive considering it needed a DIY overhaul. And then I spied the $20 Zellers lamp - right colour, right shape, right price, wrong height.

The lamp's stand is made up of four hollow metal pieces that screw together, and the lamp's cord runs through them. So the only way to shorten the lamp was to remove one of these pieces, which meant I had to cut the cord. Then it was a matter of pulling the cord up through the base, removing one piece of the stand, and threading the whole thing back together again.


Repairing the cord required a few minutes, wire strippers and electrical tape (you can find step-by-step instructions here). Easy peasy (and to think Adam made me promise not to burn the house down). My painted lampshade sits on the lamp's original shade, so I'm planning to cover the top with fabric to block the internal ugliness for my tall guests (or at least what I imagine is internal ugliness - short little me can't really see it). Luckily Young House Love has great instructions on how to do it.

And now, just because it's been raining for months here, here's a photo of some sunshiney goodness streaming into our guest room this morning. Happy Friday! 


Crowing About DecoArt

I'm a bad, bad blogger. But you all already knew that.

A "few" months back (okay it was a year)a dear lady from DecoArt contacted me about using some of their products.
No brainer there. I use a lot of their paint anyway and so I was excited to try out some more of their stuff.

I have a pile of these roosters crowing away in my garage. One brave guy was very willing to let me apply some Primer/Sealer to him. Then some Texture Crackle that aged him just a few years. He also decided to frost his feathers with just a bit of Glaze to give him a more less polished look. (you mix the glaze with your own colors for a custom tint)
He was pretty proud of his final look and ended up selling himself in my Etsy store. (His younger green brother can still be found here)
I have used the Texture Crackle in many different ways and I have a few more in mind... (when I get a moment to spare) It's perfect for making a new piece of wood look aged and weathered. It can also be used kind of like spackling.
For example, I had this pot thingy that I liked but the pattern was no longer something that fit into my decorating scheme.
I used the Texture Crackle to create a spackled look.
So all that to say... Thanks DecoArt! I'm having fun with your products!

(psssstt, want to hear a secret? Come back Monday for a giveaway from Shabby Apple!)
Photobucket

Fabric headboard DIY

Over at Nesting Place today, the talk is all about yard sale finds. Since we've had non-stop rain for about two months now, I haven't been to a yard sale in awhile - but I still managed to find an amazing deal last week:


After all, "free" is the most amazing deal of all. So yes, I did scrounge around in this wood pile for a few decent boards that I could transform into...a headboard for our guestroom!


As you can see in the photos, I repeated the fabric from my DIY seat cushion, which has a woven texture to it (it looks like a big swath of grey in photos, but the texture makes it more interesting in person). The chair - which you can see in more detail at the end of this post - is one of my favourite yard sale finds of all time (hence my Nesting Place link up). I found it a couple of years ago, spray-painted it black, and then it sat in the basement of our old apartment. So I'm thrilled to finally have space for it, and I love how this yard sale find works with my free find - the headboard.

Speaking of the headboard, it looks a little high right now - I'm planning to add some extra "cushion" to our futon mattress (our guest bed, until we spring for a proper one), which will bring the height of the bed up several inches.

So how did this project come together? Adam cut my free lumber to size for me, and I turned that into a frame using some simple metal brackets and screws.


When the frame felt good and sturdy, I placed it on a large piece of quilt batting and secured it with staples, making sure the batting was taut and wrinkle-free (you can find a more detailed tutorial here). I cut away the excess batting, then repeated the entire process with my fabric.


I put a couple screws and anchors in the wall to hang it and voila: headboard done!


At least I think it's done (I'm thinking about using these nickel finish upholstery tacks I have lying around to frame out the headboard)...

Total Pageviews

Blog Archive

Popular Posts