
One night last week I got a phone call from a friend who spotted two chairs in our neighborhood - free to the first person to grab them. I quickly threw on my shoes and walked around the block to where my friend was sitting - guarding the chairs until I could come see them. (I have nice friends) I have a wee obsession with chairs, and I have been hunting for some new ones for our kitchen. Although these weren't the style for our kitchen - I fell in love with them. My friend and I carried the chairs back home to my porch and a few hours later I got to work on transforming them. I was already painting some other furniture in our house (which I'll blog about soon) so a lot of the prep stuff was already out.

Once in my house I admired the chairs some more in the light. The chairs were gorgeous shield back chairs - pretty feminine. It wasn't the look I wanted for our kitchen but a style I loved for somewhere in our home. They were in good condition, not wobbly and except for a few dings here and there, no major signs of wear. The seat cushions were in an awful fabric but the seats were easily removable so I knew I could staple some new fabric onto them easily.
The first step I did was filled some holes/cracks in the wood with wood filler. Once that dried I lightly sanded the chairs down with my Mouse Sander (using with a light grit paper). Although a lot of people potentially skip this step I've found that sanding, when it comes to painting furniture, is step that really makes a huge difference in a professional look vs. DIY.

Next up I primed the chairs. I used a primer I had in the house - although some recommend specific types of primer, I think if you have a primer on hand I say go for it. Don't do a heavy coat - instead just make sure everything gets covered lightly and that you don't have any drip marks. I'll often walk by every 10 - 15 minutes and inspect that the chair doesn't have drips and do a dry brush stroke with my brush just to even it out. You don't need to hide the wood, the primer is just a base.
SAND. After the primer has dried, I actually lightly sand it down again - ensuring that the finish is smooth and again, no drip marks. If there is a drip - which happens when you're dealing with these kind of small wood details - as paint gets stuck in there are drips out when you're not looking - this is the time to sand it down and get rid of the drip. Once you have a few coats of paint on there, getting rid of drip marks is harder to do. Don't go crazy with the sanding - I just focused on areas visible to the touch and eye - like the top of the chair that I knew I'd be handling a lot.

I don't have a paint sprayer - so I have to use a brush. I personally think you can get a great finish using a brush if you take your time painting. That being said -here is my "ah-ha" moment with painting furniture. As well as having patience.....Use an amazing paint.
I'm in LOVE with Benjamin Moore's Advance line and I'd consider this the "must have" furniture paint. Growing up, Oil paint was what my Dad would use for furniture painting and any piece that would get a lot of wear. It was durable, and had a beautiful finish. Fast forward to now, oil paint is on the out, and plus - it was annoying to work with because of the stink and cleanup. A few months ago I discovered the Advance line when my local Benjamin Moore dealer told me about it and explained it's a Oil hybrid. It has the properties of oil - durability, and how it evens out much like oil - and it also needs curing time before you can use it. I can't rave enough about this paint. You don't need a lot for furniture painting so I highly recommend spending the extra cost on this paint. I LOVE this line.
So, back to painting. Using the Advance line, I paint a light coat of this paint on my furniture making sure that again, there are absolutely no drips. You can do a nice coverage, but don't slop it on. Much like the priming stage, I'll stick around while it's beginning to dry, making sure I don't see drips and if I do, I take my paint brush that I had used, but without new paint on it, and dry brush it.
After the paint has dried - guess what I do. Yup. I sand it again. Again, some may see it as overkill, I see it as getting the best smoothness possible. You again don't need to go crazy - but a light sand will just help prior to your next paint coat...
Then I do one more coat and let it dry. That's it!
So the two chairs have found homes in my house - but I still need to find fabric for the seat cushions. One chair is in my bedroom...

And the other is sitting in our TV room....
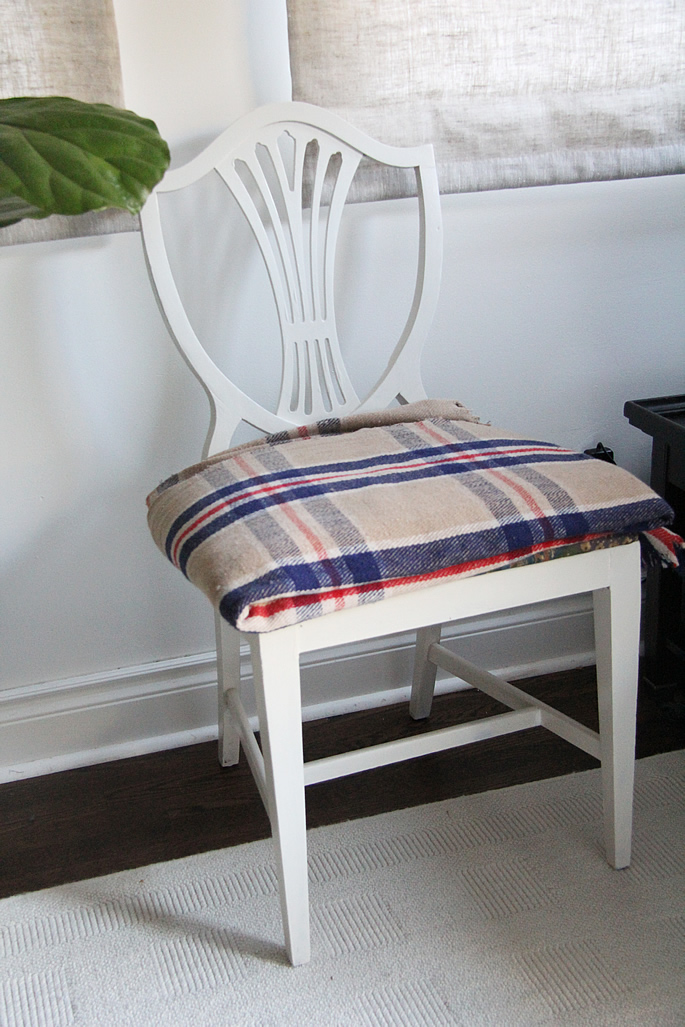
(Again, it needs a seat cushion but for now, one of my vintage blankets that I found thrifting, covers the hideous old seat)
So there you have it. One project down in our house!
Shopping Guide:
Chairs: Free from the side of the road
Paint: Benajamin Moore Edgecomb Gray in the Advance Line
Sander: Mouse Sander with light grit sand paper
Fabric: To be determined


.JPG)

0 comments:
Post a Comment