
Like many of you (I assume, I hope), I 'pin' projects and other DIY inspiration to my Pinterest boards with the best of intentions, only to forget about them later. This time I even bought some of the necessary supplies, then let them sit in a bag next to my dining room table for a couple of months. Oops.
I first spotted the idea HERE and immediately knew I wanted to DIY my own version - I just needed to find the perfect vintage floral fabric.


The steps are pretty easy (Andrea's tutorial includes some great step-by-step photos if you need more detail):
- Cut your fabric and batting to your desired size (most tutorials I read recommended a 45" or 1 1/4-yard square).
- Place one layer of your fabric on top of your batting (right-side facing out), fold over the edges and pin to create a 1/2-inch seam. I found it helpful to then iron the edges to define my seam.
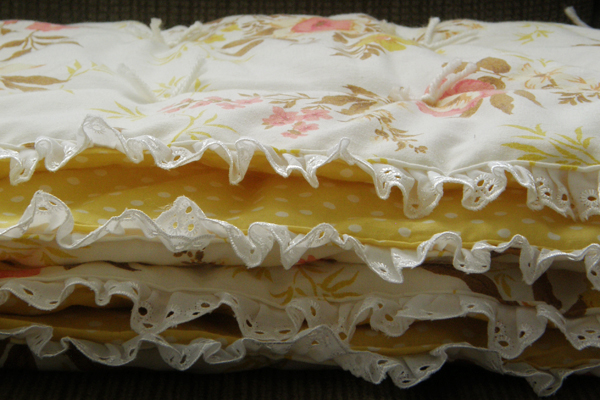
- Place your second layer of fabric on top of the batting (again, right-side facing out), fold under your edges and pin around all four sides.
- Now that you've basically got your blanket, open each side, layer in your trim and re-pin. Then run all four sides through the sewing machine, stitching as close to the edges as possible.
- Finally, mark the spots for your yarn ties - mine are all 4.5" apart - with pins, thread your yarn through each pin mark, cut and knot. Check out this tutorial for the very easy how-to.

And that's it! I have a few friends who either recently had babies or are expecting, and I think this would make a great handmade gift.
A big thanks to Andrea at Strawberry Chic for the inspiration!
Linked up here


.JPG)

0 comments:
Post a Comment