Sofa styling

I know a lot of people like their sofas packed with pillows (I've tried the look, too) and while it looks nice, there's the pesky little problem of how to actually sit on those sofas. The summer issue of Emma Magazine has a great feature on sofa styling by Kirsten of Simply Grove. Unlike similar styling guides I've seen, I like that Kirsten's looks are all stylish and functional (well, depending on your feelings about the practicality of white sofas).

Here are several examples of the 'less is more' approach that I love:

via HGTV

via Lonny Mag

via Domino Mag

via From Scandinavia with Love
 
via Domino Mag
 

via Style at Home

I also love the tucked blanket look. It's practical and a great way to add an additional punch of colour, pattern or texture to your sofa, while still leaving plenty of room to sit.

via Emily Henderson

via Lonny Mag

I know this one violates my pillow rule, but I love the plaid throw too much not to share :)

Here are a couple of other helpful sofa styling guides - whether you like lots of pillows or only a few:

Our bed has a new pillow and I want a new sewing machine


Last night after I put Hannah to bed, I decided to fix a tear in the seam of one of my sweaters. I realized it was really a job for the sewing machine, so of course I thought, 'hey - if I'm going to go to the trouble of breaking out the sewing machine, I might as well sew that throw pillow for our bed'. Yeah, that throw pillow that required sewing in a zipper - only the second one I've ever done.


The sweater was an easy fix, but the pillow was a major pain in the you-know-what. My sewing machine (actually my mom's) randomly loses bobbin tension and I can't figure out why. Each new project requires plenty of of wasted thread, finger crossing and silent prayers to the gods. It may have taken me at least twice the time, but the pillow is done (and the zipper works).


Our cat, Henry Rollins (he looks cute, but he can be vicious), approves. The fabric is Marrakesh Firefly Ikat and it's even more gorgeous in person (like, in the picture above, I'm just as likely to pet the fabric as the cat).

 
You may remember that I already sewed two throw pillows for the bed using this fabric, but I later swiped the forms for our couch. I'm digging the simplified look (I did something similar in the guest room and I still love it), but it kind of breaks my heart that those beautiful slipcovers are stuck in a closet. Maybe I should host a giveaway?

Our dining room just got fancier

Thanks to everyone who commented or tweeted with your two cents about my headboard dilemma. Almost all of you said I should paint it, so that's what I'm going to do. I even bought the paint this weekend :)

Remember that Kijiji find I teased you with back in August? It hung out in our living room for a bit, until I figured out that it really belonged in our dining room. The best part is that now I can stare at it while I'm sitting on the couch :)


I found the Dwell Studio pillow at HomeSense for a steal. I think it adds interest to the room and the colour of the applique ties in with our living room couch, helping unite the two spaces (now that I'm sure I love it, I should probably remove the tags). The vintage enamel jug was another Kijiji find.


 I've been wanting to add a snake plant to our house for ages, but for some reason I never buy them when I see them for sale, and then I kick myself later when they're nowhere to be found. Home Depot had a few tropical plants on sale for under $10, including one snake plant, so this time I made sure he came home with me. Still need to transplant him into a prettier pot.

How was your weekend?

Yet another guest room update

Last time you saw the guest room, the bedding situation looked like this:


Pretty whomp whomp. Luckily you guys offered some great suggestions to improve it - like adding some colourful throw pillows or a bolster - and after doing some research on Pinterest (that's what I'm calling it now), I made a few other changes too.


I brought in the white coverlet from our bedroom (now that we have a new duvet cover) and moved the quilt to the foot of the bed. I find it stands out more this way. I also lowered the headboard a few inches and made a throw pillow using some Marimekko fabric I've had for years (proof that hoarding fabric has its upsides).


Oh, and I decided to nix the mirror above the bed (I actually sold it on Kijiji during this week's mini-purge). My aunt found a gorgeous vintage mirror for me at a Vermont antique shop and my mom is bringing it back for me. But it's not going above the bed. I've got another spot picked out for it and something else planned for the wall above the bed. More on that when I actually get around to it :)

Have a great weekend!

P.S. Remember my hint involving chalkboard paint earlier this week? Check back next week for the reveal!

Envelope pillow how-to

We had a weekend of beautiful weather here in Halifax! Adam and I made our weekly trek to the Seaport Market for coffee and German pastries, got on some serious yard work (more on that later), enjoyed some deliciously-rich French food with friends at Le Coq, and took the dog for walks along the waterfront and by the heart-shaped pond at Hemlock Ravine.

And on Sunday, after planing a door frame in our basement and baking cranberry-lemon muffins (I do it all, folks), I turned my pretty new fabric into pillows for our bedroom.


I don't have the sewing skills for invisible zippers, so I went with a simple envelope pillow. Read on for the how-to, or just scroll to the bottom of this post for more pretty pillow pictures!

Envelope Pillow How-To:

1. Start by measuring your pillow insert. Cut your front piece to size, making sure to add an inch on either side for your hems. I had two, 20x21-inch down pillow inserts on hand, so I cut two, 21x22-inch panels.


To save money, I used less expensive fabric for the backs of the pillows. I was lucky to find a lovely neutral at Fabricville marked down to $4/metre!

2. To create your "envelope", you'll need to cut two back panels for each pillow. The width is the same as your front panel, but divide the insert's height in half and add two inches to each panel (4 inches for the back piece overall) for hems and overlap. Because I was making two pillows, I cut four back panels. Each panel was 21-inches wide (just like the front) and 13-inches high (22/2 = 11+2 = 13).


3. Next, pin, iron and sew the hem on your back panels.


Optional: If you're me, now realize you measured your hems incorrectly so your back panels are too short. Silently curse yourself, take a short ice cream break, then rip out all four hems, measure correctly and re-pin, re-iron and re-sew.

You should feel free to skip this step :)

4. Pin your front and back panels together and sew.


5. Step back and enjoy your good work!


It's here!


Look what I picked up from the post office yesterday...

{Marrakesh Firefly Ikat Fabric}
Our house has been home to more than a few renters over the years, so when I found a parcel delivery notice stuck to our door with someone else's name on it, I didn't think much of it. I stuck it on our fridge, where it stayed for more than a week, until guilt got the better of me and I decided to let the post office know that no one named Toler lived here (at this point I had begun to imagine poor Toler waiting hopelessly for a care package from grandma to arrive).

It turns out the mail carrier accidentally wrote the name of the sender, not the recipient (me), on the slip, so it was my package after all. That's right, this gorgeous fabric could have been in my hands days ago! I used some birthday money from my father to buy it (I'm probably too old to still be getting birthday money, but please don't tell him that) and the plan is to make a couple of pillow shams for our master bedroom. The colour and quality of the fabric is amazing in person, and I can't wait to see it on our bed!

DIY chair slipcover


i


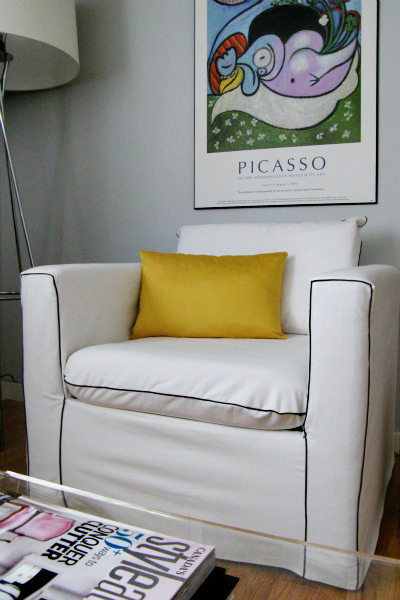
I haven't been a very good blogger lately. I've completed a few small projects - like sewing this permanent slipcover for my $20 thrifted chair - I just needed to find time to photograph and share them. You might remember that I sewed a practice slipcover a while ago, using inexpensive fabric, just to make sure I could. But we needed something with a little more weight, something a little more durable than my cheapy test fabric. Enter white denim. It's quite lovely, actually. And I fancied it up with some black piping, which made the sewing part a whole lot more frustrating, but was totally worth it. Oh, and I sewed this little pillow too. Now I like standing in my living room and staring at my chair. It feels like we got a brand new piece of furntiure :)

Pillow talk

After a week of working in Toronto and a weekend of visiting friends in Ottawa, I arrived home today to discover that a) my husband seriously got down to business in the basement while I was gone, and b) my Etsy pillow covers had arrived!


Yes, the coffee table desperately needs to be cleaned. It's on tomorrow's to-do list.


Quite lovely, no? I'll likely add another pillow or two (when I come across the right ones), but I love how these guys help tie the room together. Now I'm even more excited for my white canvas fabric to arrive so I can get started on a permanent slipcover for the chair - I'm envisioning contrasting black piping. Thoughts?

Oh, and I can't wait to share a basement update with you! Adam made a TON of progress while I was away and the transformation is pretty incredible.

More living room tweaks

I'm trying to slow down this year and focus on one room at a time, starting with my living room. I've been making a lot of tweaks to it lately, but I can't seem to get it right (it doesn't help that I hate our couch and Adam has vetoed replacing it for now). Thank goodness for Pinterest. I looked back at the inspiration for my colour palatte and compared it to my room. The rug needed to go.

I actually love the rug, it just wasn't right for the living room. Oh, and there's the part where our dog thinks area rugs = dog toilets. I know. I can see the rug as part of a future outdoor seating area, so I'm holding onto it for now. With the rug gone, the room feels a little bare, but I'm convinced it was the right decision. I also decided to re-paint the frame of the couch. It had already gone from espresso to black, but this time I decided to go from black to white.


Like I said, not having an area rug feels weird, but it's better than having the wrong one, right? I also did some Etsy shopping and ordered two new pillow covers for the couch...

via
And several yards of white canvas. The plan is to make a permanment slipcover for the chair in our living room, using my first attempt as a template. Oh, and I'm going to fancy this one up with a little piping. Some simple changes, but I think I'm on the right track!

TGIF

Yay for Fridays! First off, HELLO and WELCOME to new followers and THANK YOU to everyone who takes the time to leave a comment. They are so very appreciated and always make me smile, so please keep them coming :)


I've been a pillow-making machine lately! The plan is to take some new photos of our updated living room this weekend, but here's a little preview of the Kijiji chair I slipcovered a few weeks ago. I'm loving the black and white stripes. In addition to these pillows, I was up way too late last night making felted balls for my garland, which I can't wait to share with you on Monday (still have to string them into a garland, hang it and take photos). I tried the dryer method and the hand rolling method, so I'll walk through the pros and cons of each in Monday's post (basically, you need to decide how much of a perfectionist you are and how much time you have).

Adam and I are off to the Valley for a much-needed visit with our families this weekend. My mom finished her last session of chemo today, so we're going to start the weekend by celebrating her clean bill of health  - with champagne of course! What are you up to this weekend?

Painting the couch + new pillows!

Adam and I spent a great Easter weekend in Massachusetts visiting my extended family. Since we were away all weekend, I took the day off on Tuesday to recover from the long drive and do a few things around the house.


You may remember that our living room sofa (a $200 Kijiji find) used to look like this:


Not bad, but I didn't like the way the wood trim stood out against the black and tan rug. To help it blend in, I decided to paint it black. I put a piece of cardboad under each of the sofa's feet to protect the rug and floor, roughed up the wood with 100 grit sandpaper, and brushed on two coats of black acrylic paint. The whole project took about 15 minutes, including drying time between coats. Still, it was a dramatic transformation.


And to complete the sofa's new look, I also whipped up a few pillows using some fun, new fabric I picked up last week (it was a buy 1 metre, get 2 free deal). I'm so happy with how this quick and inexpensive project turned out - the black frame ties the couch in with the rug, and along with the new pillows, it gives the couch a much more contemporary feel that really works in our eclectic space.


Weekend finds

It's kind of funny that I blogged about my rug fantasies on Friday, since I stumbled across the perfect area rug for our living room the very next day:


That's our dog, Maddie, already enjoying the new addition. The future husband and I went to Home Depot on Saturday to pick up a new bathroom faucet (more on that later), when I saw this large, indoor/outdoor rug by Martha Stewart Living for $119. It was the right size, the right price, and it came with the right care and cleaning instructions (i.e. spray it with a garden hose). SOLD. I love how it suits our space, and the simple geometric pattern is a lot more fun than plain ol' seagrass.

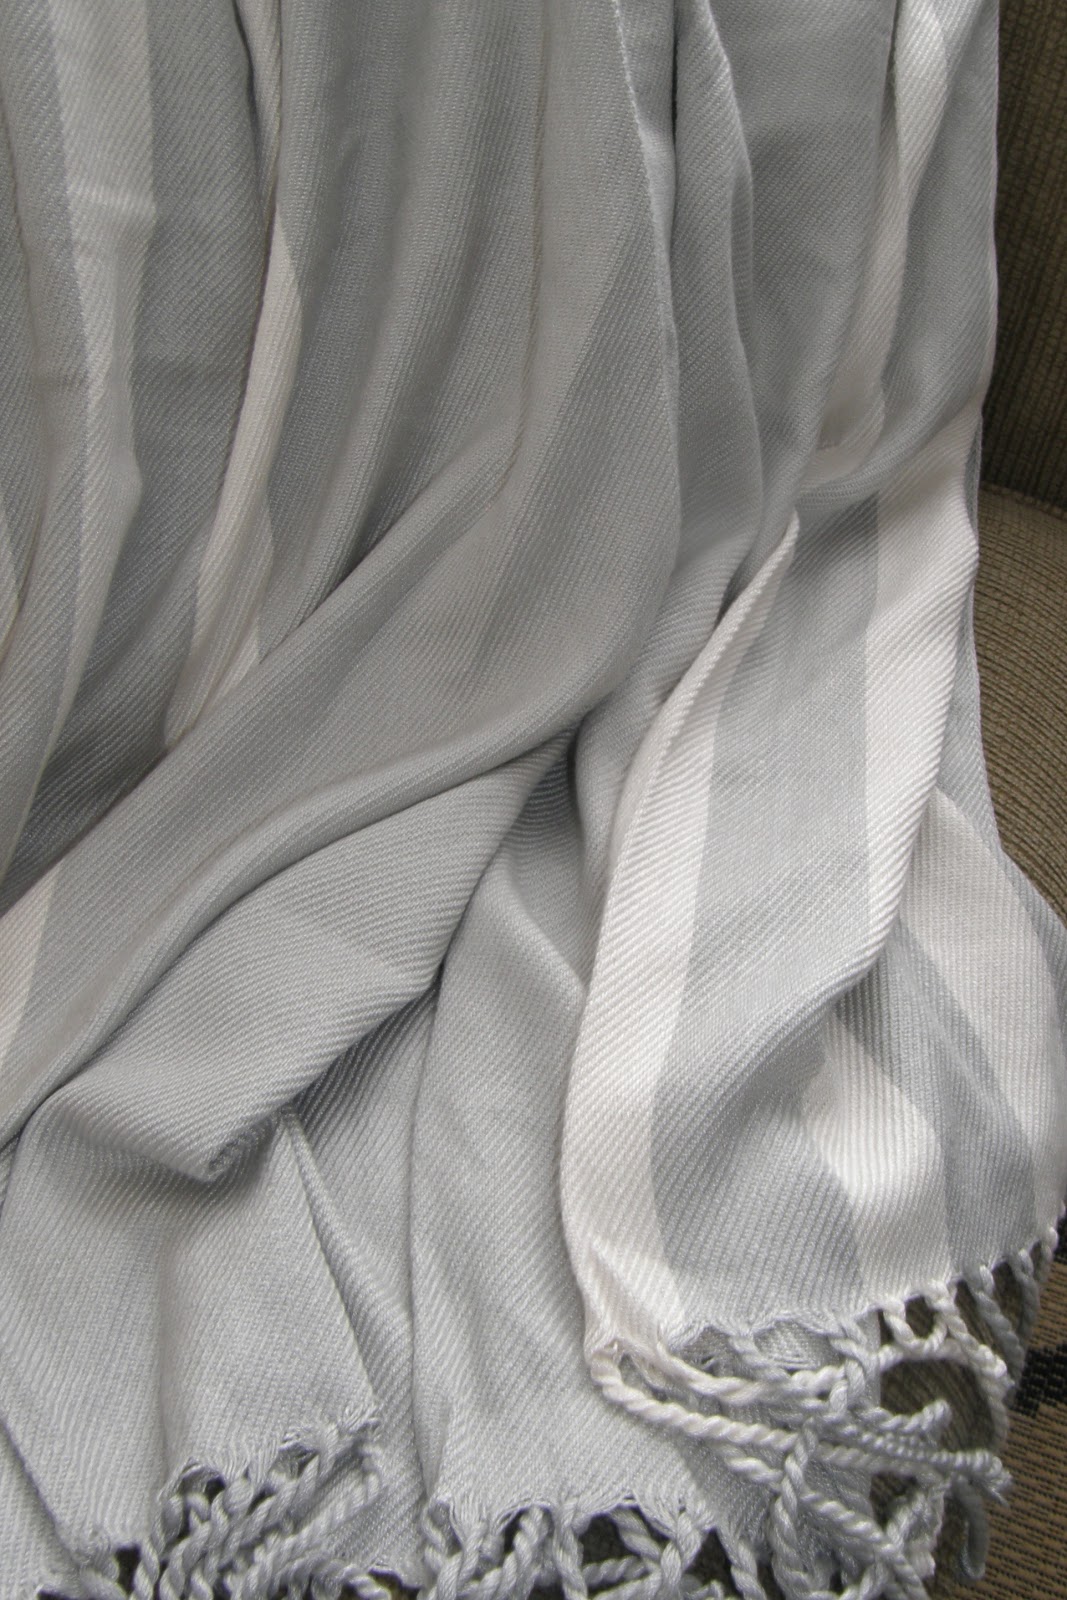
But the rug wasn't my only great find of the weekend. My future mother-in-law and I checked out The Bay's store closing sale on Saturday and scored some awesome deals. Like these super cute throw pillows - for just $7.20 and $3.20 each - and this comfy grey-and-white throw for less than $12!


Here they are in their new homes (I tried the throw on the couch first, but I like it better on our antique chair). I'm planning to darken the wood frame around the bottom of the couch, so that it blends in with the black of the new rug (I'm thinking of Minwax's Bombay Mahogany), but right now I'm just enjoying my weekend finds!


Total Pageviews

Blog Archive

Popular Posts